
Hello out there in blogville. Today's blogging fare is all about indulging in fall time.

Who doesn't love the frosty mornings, bundling up in your favorite sweater, soaking in the autumn colored fall leaves, sipping hot apple cider, simmering your favorite stew, and winter squash. Yep, squash. It's one of my favorites things. So I have to say, I love my dad's garden. He is the funniest gardener. He is not a weeder...in fact, I swear he cultivates the weeds as much as he does his vegetables. He also buys in bulk....everything, groceries, clothes, seeds, and vegetable plants. So with that being said, we have had quite the plethora of harvested items this year. One of which are the hubbard squash. Now I do not think he realized when he bought three of the little innocent plants at the nursery that we would be blessed with MULTIPLE 40-60lb behemoths. Thankfully I offered to give a few of them a good home.
We start our squash story with this......the hubbard.

Now I chose this one as it had some cracks along the top and bottom and I wanted to cut into it to ensure the insides were not spoiled or moldy. Now......I did not quite realize the magnitude of the job that lied ahead of me. I figured, just stab, slice, and crack open. Ya, that was a big fat NEGATIVE. I have made a permanent not to self....next time I decide to crack open my next hubbard, get the axe. So after my aerobic and strength training workout for the day, I managed to open my bumpy blue friend.

Now THIS is a pile of seeds. It was not nearly as slimy or goopy as I was expecting. It was more spongy and soft than anything.

Next you pull a Tom Sawyer and tell your kid how much fun it is getting dirty and goopy :)


Now you want to rinse off the rest of the goopiness. It works best to grab a small handful at a time then spray them off in the collander while swirling the seeds around.
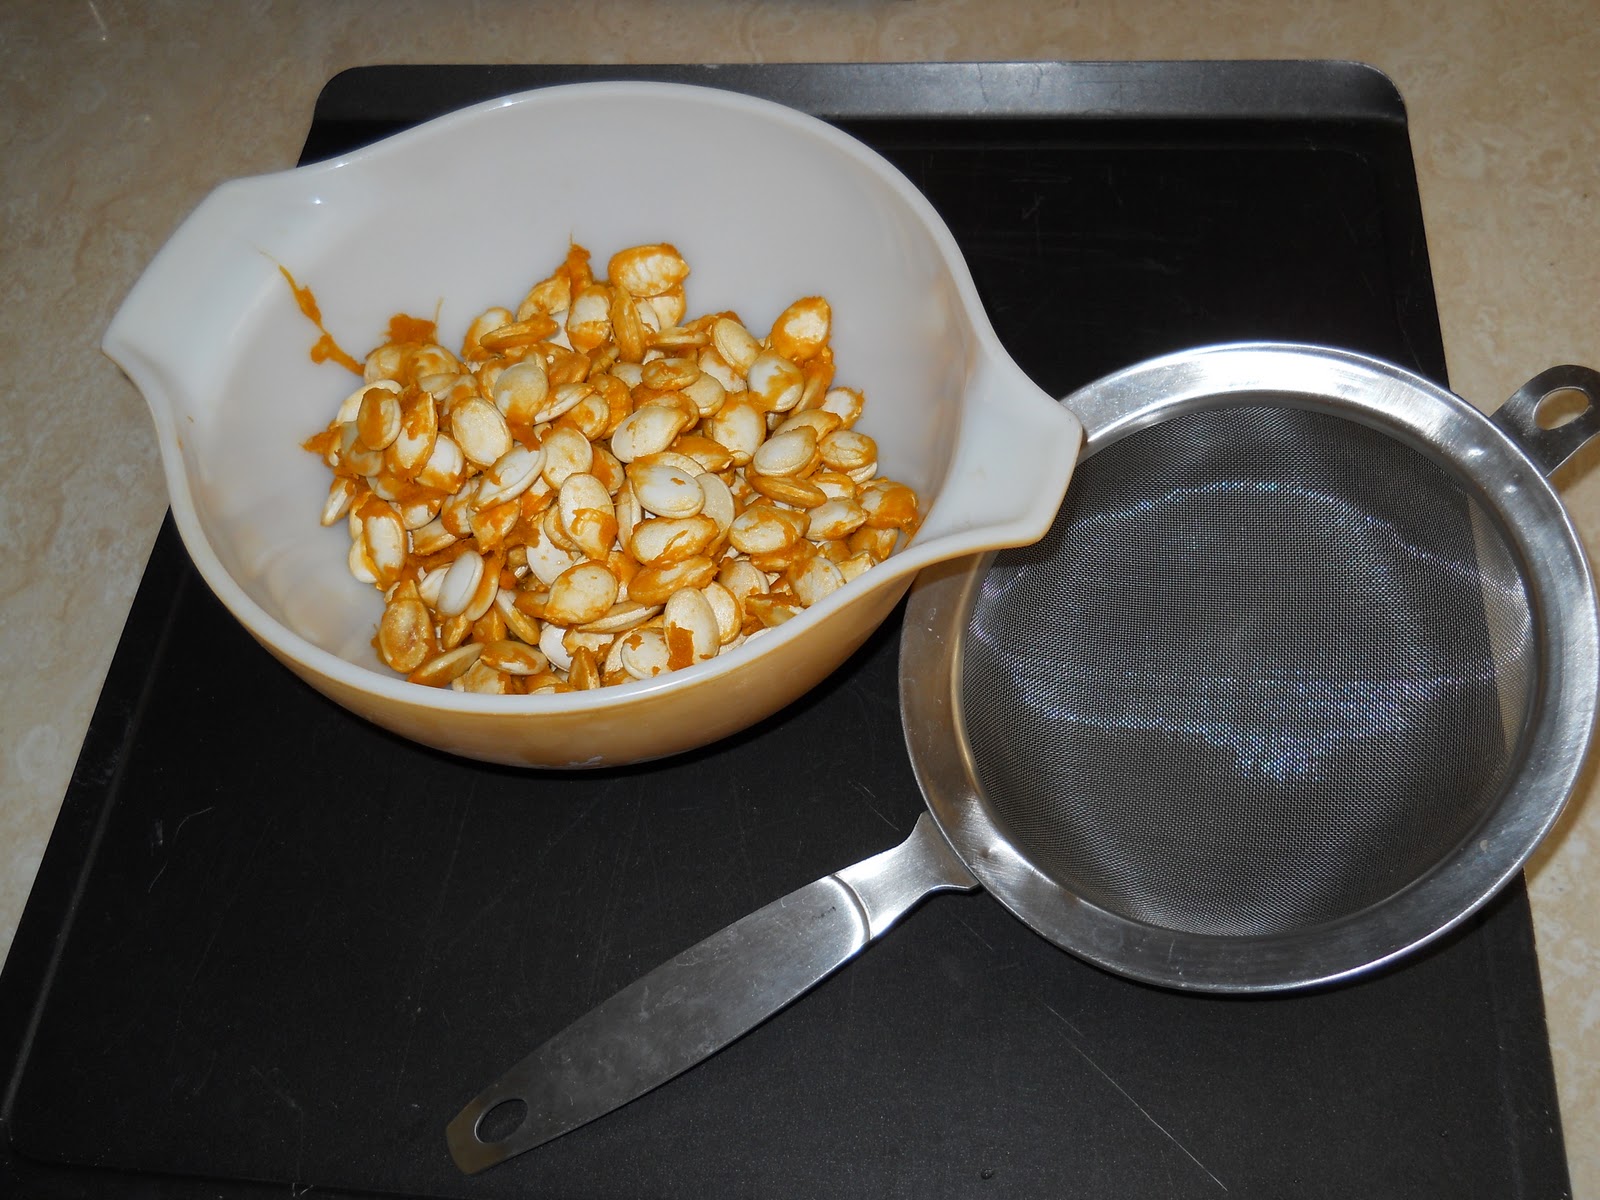
After the rinsing, spread them on a towel and let them air dry for about an hour or so. If you are an impatient soul like myself, just grab a couple paper towels and hand dry them.

Now it's time for seasoning.

Now you can get creative with Mrs. Dash season salts, herbs, and what not. Me....I just like plain ol' salt. The measurements are 1 tablespoon olive oil and 1 teaspoon salt per 2 cups seeds. This is the point you want to pre-heat your oven to 275. As it's such a low temperature it won't take your oven too long to get there. While the oven is heating, toss your seeds with the oil, salt, and any additional seasonings then spread onto a cookie sheet lined with tinfoil. Bake on the top shelf for about 45 minutes. Cool before serving.
Then my friends.....enjoy the roasty toasty nutty earthy goodness :)
Here be the "recipe"
Toasted Winter Squash Seeds
2 cups rinsed dried winter squash seeds
1 teaspoon salt
1 tablespoon olive oil
No comments:
Post a Comment