Monday, July 30, 2012

Peruvian White Rice


Peruvian White Rice


Ok, so I know what your thinking....just a rice recipe? Really? As an anti-glutite don't I eat enough rice? K, I get it, trust me I do. Here me out though....This recipe will change the way you think about white rice. Plus, if your like me, you will not be able to eat plain ol' steamed rice again hehehe. It's seriously so good you could sit down and chow down with a bowl filled to the brim. It's really that tasty. It stands on it's own as a side dish and it's really so easy to put together. Plus, it's a great way to mix up that versitile grain we have all grown to love. I learned how to prepare my rice this way from my husband who served in Peru for an LDS Mission.

K, so to start, warm up 1 1/2 tablespoons olive oil in a rice pot on medium heat then add 2-3 crushed or minced garlic cloves. Garlic burns very easily, so keep the temperature medium low. All you want to do is lightly saute it to bring out the most flavor.  Sprinkle salt on the garlic and oil then add 2 cups hot water and bring to a boil. While water is getting to the boiling point, rinse one cup white rice under cold water then add to the boiling water. Cover then reduce heat to a medium/high. Then the rest is pretty much what we all have come to expect from cooking rice. Allow to cook for a good 20 or so minutes. When the rice is cooked leave the lid on, turn off heat, and allow rice to rest for at least 15 minutes. Don't get antsy to remove the lid and dig in. The rice grains need to sit and relax after they have been cooked. This will keep them from getting mushy or sticky. Once your rice has rested and slightly cooled the last step is to add another 1 1/2 tablespoons olive oil and salt to taste. Be sure to toss the rice with a fork to ensure the oil and salt is distributed evenly. Then add a bit of cracked pepper and your done :)


Peruvian Rice

3 tablespoons olive oil (divided)
2-3 crushed garlic cloves
2 cups water
1 cup rinsed white rice
Salt and pepper to taste

On medium heat saute the garlic in 1 1/2 tablespoons olive oil then sprinkle with salt. Add the water and bring to a boil. Once boiling, add the rinsed rice then lower heat to medium/high, cover, and cook for 20ish minutes. When rice is finished cooking, turn off burner and allow rice to sit for at least 15 minutes covered. After rice has rested, add the remaining 1 1/2 tablespoons olive oil then add salt and pepper to taste while tossing with a fork.

Friday, July 27, 2012

Pony Express Adventures

Well hello everybody!

Ok, so I thoroughly appologize for the lack of posts. here in Utah land life has been quite a bit crazy to say the least. We have been busy little bee's over here with our business of installing Real Estate signs then our fun horse adventures, enjoying the outdoors, and gardening. I DO miss blogging, so I figured, I will do a post at least once a month, but will shoot for more ;)

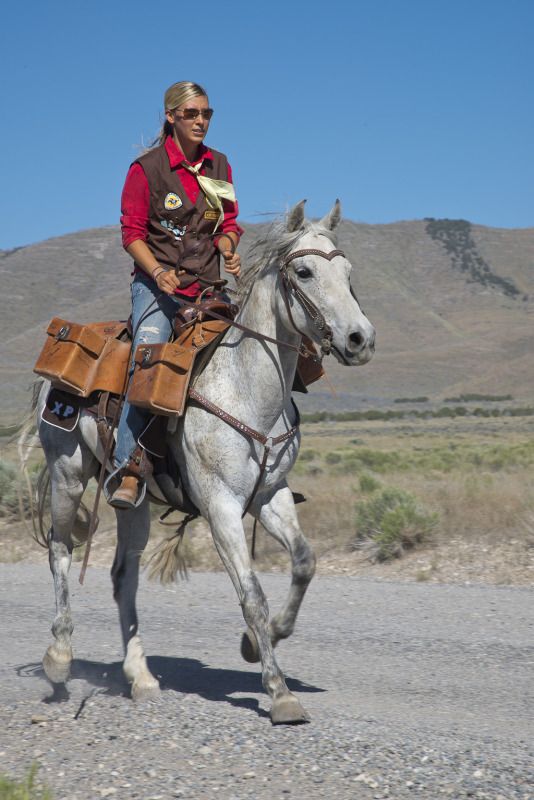
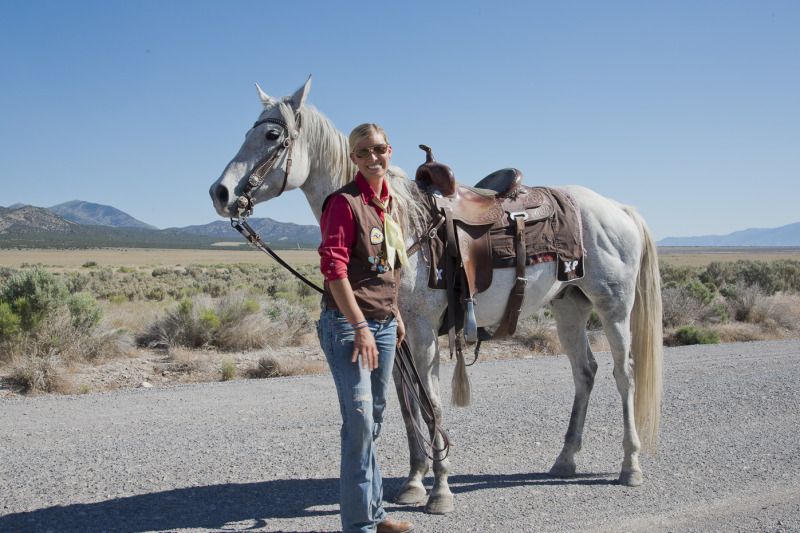
So my first post is to share our Pony Express adventure. For those who are not horsey nerds the Pony Express reinacts the carrying of the mail on horseback from St. Louis Missouri to San Fransico CA all on horseback 24 hours until the mail is delivered. We also try to maintain the same route and traditions of the original riders (well, aside from preferably being orphaned young boys hahaha!) Some of those traditions include carrying a bible during your run and ensuring we are all sworn in prior to the ride. This year's run put me in the desert which is pretty much in the middle of nowhere. I actually enjoy riding in the desert....well aside from blistering heat and needing to be donned in the uniform of a long sleeve shirt, kercheif, and vest. Being that it was nearing the 100's made for a roasty toasty run. As I didn't have the luxory of spending the night, I left my house at 2 a.m. to meet the other riders at 4. I'm sure my poor horse thought I was stir crazy loading him up at that ghastly hour in the morning. Overall the run went well. the mail wasn't TOO far behind, so there wasn't much waiting around to do. Which, I might add, we do quite a bit when carrying the mail. I hadn't participated in the Pony for a few years while my little one was well...little. Now that she is older I figured this would be a good year to rejoin :) I'm glad I did. I really missed my Pony Express family. Utah is divided into two "families" and I was so happy to see my family had not changed much. Man, I have to chuckle at some of those hard core old timer cowboys who ride year after year. One of my family members is pushing 80 and he is a bit ummmm....scary to watch. I swear he is either going to fall asleep or just plain topple off his mount on his rides. Yet, that fella cowboys up and rides year after year :)

Alrighty, guess that's enough chatter, how about some pictures?

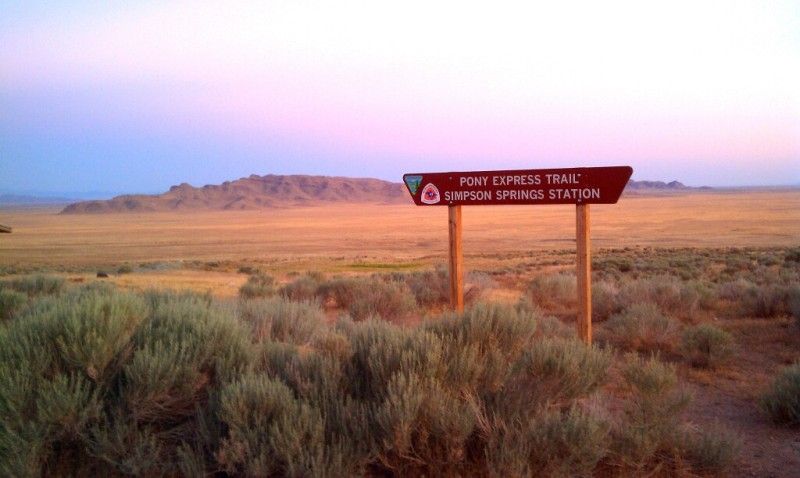
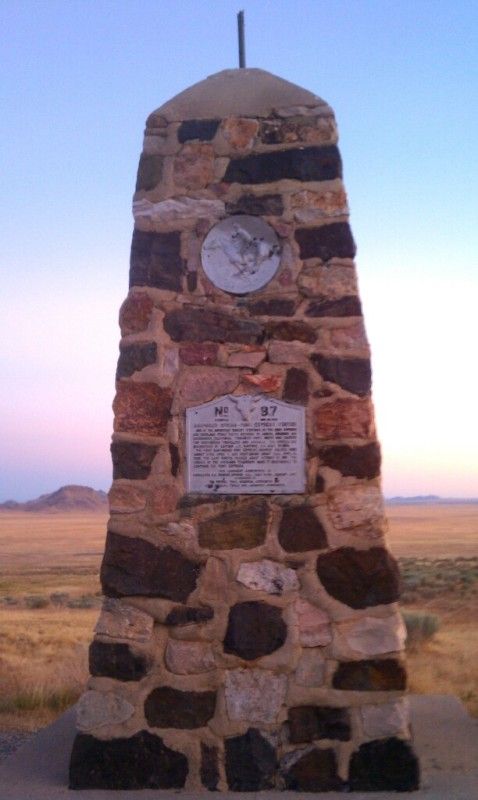
This is the Pony Express Monument out in the desert. It was such a pretty morning.

Another lovely morning shot.

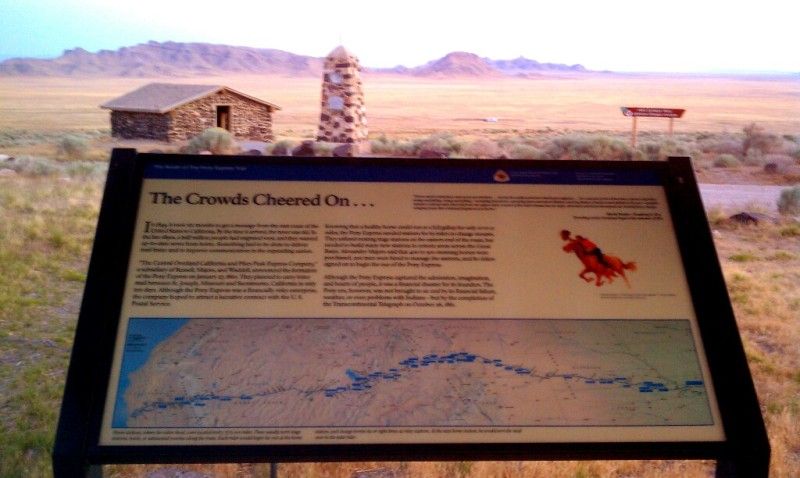
This is the monument and an original (restored) XP station cabin.

The first rider in our family taking the mail.

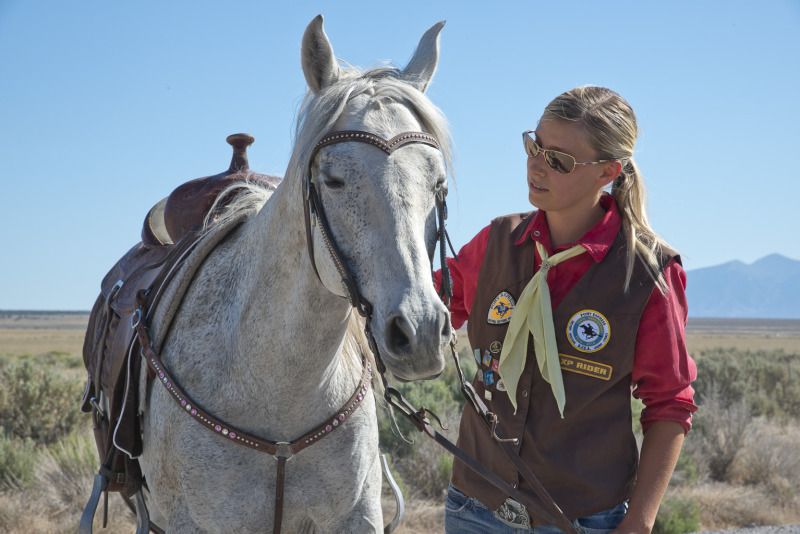
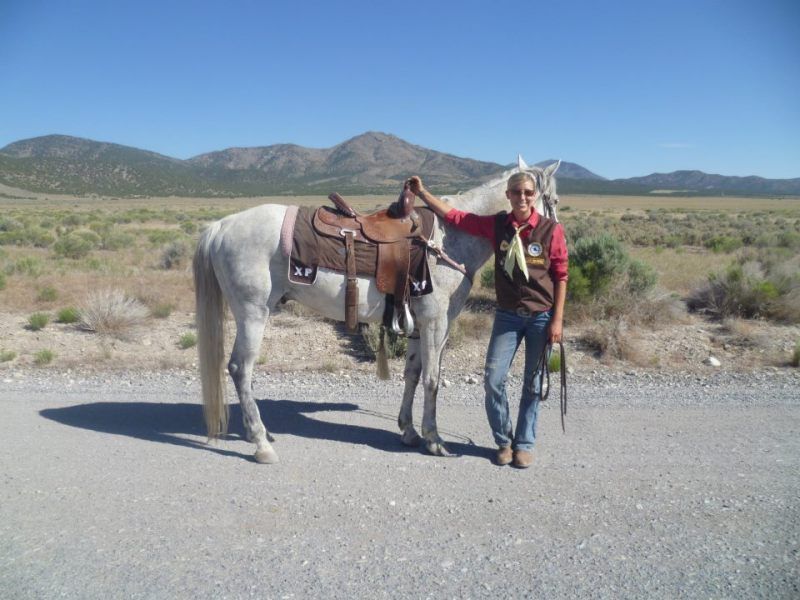
My Pony and I waiting for our turn :)


Waiting some more (sorry cell phone pic)...


More waiting.....get the picture??


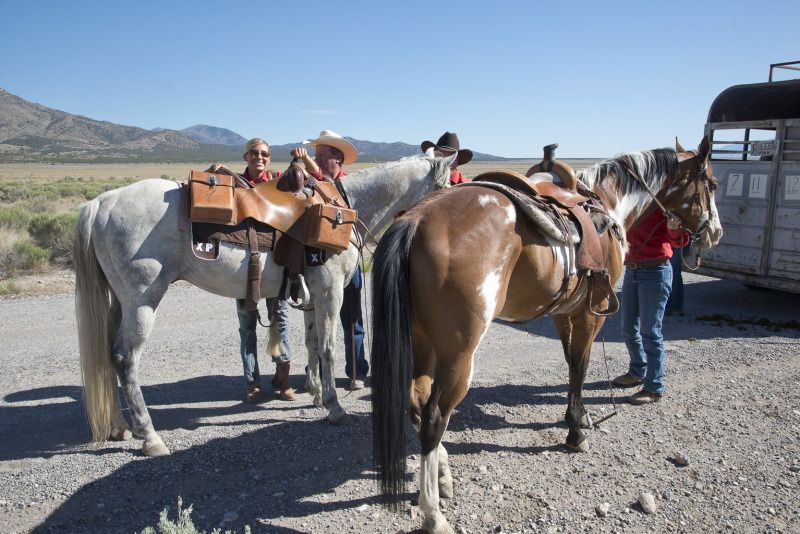
Waiting is over and we got the mochilla loaded with the mail!

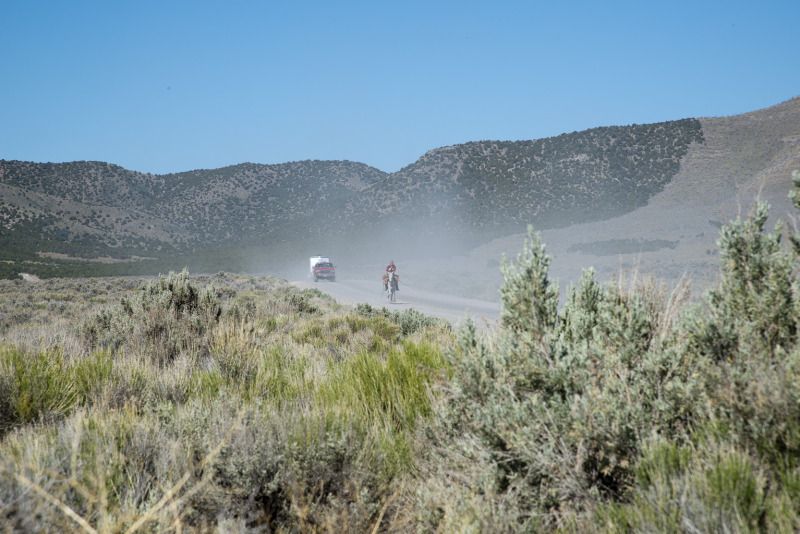
Aaaaaaand we are OFF!

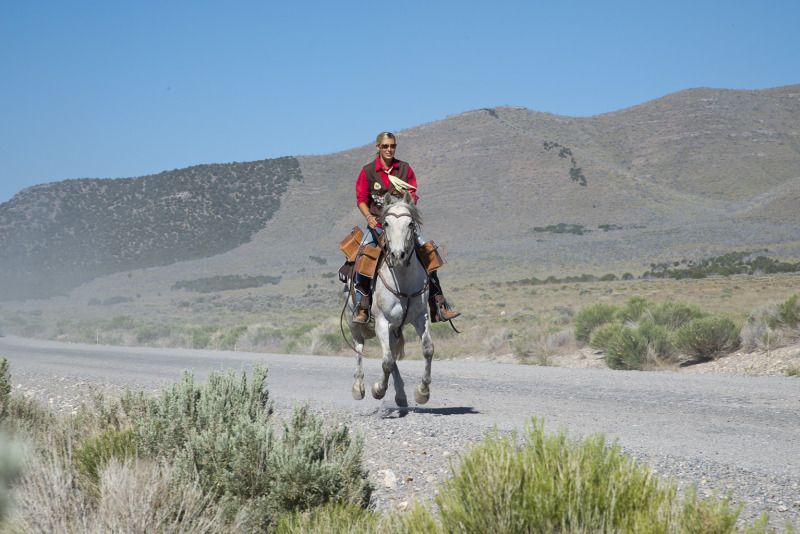
Go Smokey GO!

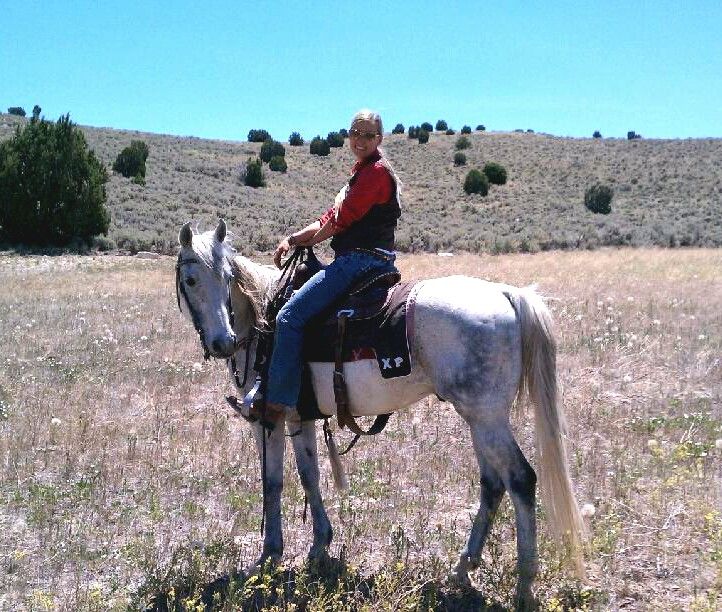
All done with our first 2 mile run (boy he sure does look arabianish here)

My little pony did good!


Thanks everyone for reading and catching up with a little Pink Cowgirl adventure. Till next time!

Thursday, September 1, 2011

Beet Soup

Ok, harvest season is just starting here in the rocky mountains of Utah. Have I mentioned how much I love fresh home grown vegetables? Not too mention being able to share gardening space with my dad. Which is wonderful because I can plant many more edible plant goodness that I don't have room for in my little gardening space :) Now, there are a few of my friends that know of my love for root vegetables....and one type in particular BEETS! Pickle em, boil em, roast em, mash em. Purple earthy goodness in my book. I do understand that there are quite a few people that don't share my adoration of the little vegetable. I get it. I'm not going to force you to eat them. I am going to ask that you TRY this recipe. Not only is it healthy and full of nutrients. It's so gosh darned easy to make and a great opportunity to have a different spin on using this betalain laden veggie (for anyone interested in the health benefits of beets, this is a GREAT article: Beets.

So here is my recipe for a tasty and easy beet soup dinner.

1 tablespoon olive oil
1/2 cup white or yellow onion diced
1-2 stalks celery diced
2 garlic cloves crushed
6 medium sized beets with the tops removed and diced
2-3 cups beef broth
salt and pepper to taste
In a large pot, warm olive oil then add onion, celery, and garlic. Cook on medium high for 5 minutes. This is an excellent opportunity to prepare your beets ;) Add your diced beets to the pot then add the beef broth. You will want to have enough broth to be an inch above the vegetables (my reasoning for 2-3 cups) since beets can vary in size and volume. Bring broth to a boil, cover, then lower heat to a moderate high. Boil for at least 15 or more minutes, until beets become very tender. Remove from heat and allow to cool slightly. Transfer to a blender and puree until no chunks remain. Pour back in pot then bring to a simmer. Serve topped with sour cream or plain yogurt :)

Now, I have had self proclaimed beet haters tell me they love this soup. Even my sweet husband who refuses to eat beets ask me to make this for them. Don't take my word on it though....try it for yourself :)


Plus.....it's just so pretty to look at ;)


Saturday, August 27, 2011

It's time for Mutton Bustin

You know, I have always wanted my kids to ride a sheep....as silly as that sounds. Ever since I saw the little tikes all decked out in thier rodeo gear getting dumped in the dirt I have wanted my kids (well for the time being, kid) to bust some muttons. Wow, don't I sound like mom of the year hehehe. Watching those kids ride those sheepies is one of my favorite rodeo events.

Now reality. I have the sweetest little girl. Funny thing is....she is about as girly girl as it gets. Not that she can't get on Smokey for a ride or buzz around with Dad on the dirtbike...but in all honesty, crawling on top of a wild wooly sheep and hanging on like Pooh Bear to his hunny pot I figured was just not her "thing". Soooo I had just written it off that my kid would just never ride a sheep. Now as you parents know....kids are just filled with surprises. One night while watching her daddy post the colors at a rodeo, the munchkin watches her first mutton bustin event. She turns to me with the biggest eyes and says "MOMMA, I want to DO that!". Whoa, wait, WHAT? You want to ride sheep? "Heck ya" is the kid's reply. So I'm kinda shocked right now. These kids are getting dumped left and right and one even bursts into tears. Still, she keeps insisting she wants to do it. That's what I love about kids. You think as thier mom you know everything about them....then they pull something like "I want to ride sheep" out of thier hat.

So after two unsuccseful attempts at getting her signed up, I finally get her registered to ride in Davis County's PRCA rodeo. Mom found her some rootin tootin cowgirl duds at the local thrift store (boots and all!) for only $6 :) So we get to the rodeo and the kid has another surprise up her sleeve....See.....mom figured that all the lights, loud croud, commotion, not to mention loud baaing sheep might cause the munchkin to chicken out. Not the case. Not only was she even more excited to ride but when the mutton busters were all lined up in the arena, she marched RIGHT up to the gates and asked to ride first! I was so proud of my little girl! Not only did she ride that sheep like there was velcro stiched to her hands, shirt, and pants, but she rode that sheepy backwards. Now....mommy MIGHT have placed a little bug in her ear saying to ride backwards ;) Mom and her nerdy horsey knowlege knows sheep are built downhill. So when kids ride facing fowards when the sheep turns they get dumped.

So the result of the backwards first time sheepy rider daughter of mine? Second place! Boy was mom ever happy! What a rootin tootin good time we all had. Thanks for indulging me in reading our little family adventure :)

My Mutton Bustin Kid


The Ride


Monday, August 15, 2011

Dried Watermelon

Dried Watermelon


Ok, so I'm a dried fruit addict. No, really, I am. I also am picky on my dried fruit....I don't want my dried fruit pumped full of sulfur dioxide. Kinda defeats the purpose of a healthy snack right? I also love that my little kidlet and hubby will gobble up bags and bags of my homemade dried goodies. Why buy FAKE fruit snacks when you can make your own at home? The cost is MUCH cheaper than buying prepackaged mass produced stuff (plus, it's pretty tough to find just PLAIN dried fruit without any additives. Just watch your local grocery store produce sales and shop your local farmer's market. Now, this is a fruit I had not thought of drying. I mean, watermelon? Isn't it like 80% water or something? I had a friend who is big into the raw food thing tell me how totally awesome dried watermelon was...and to be honest, I really didn't think it would work. Anyway, I made it a few years back and BOY let me tell ya. I'm addicted. The stuff tasted like candied fruit leather. It has a wonderful chewy texture and the sweetness of one piece rivals that of any sugar and corn syrup laden FFS (fake fruit snack). You WILL need a food dehydrator that has temperature control. I tried it on an older model that is just plug in with no controls and my fruit drying attempt failed miserably :(

Ok, so here is how to make your tasty scrumptious all natural dried watermelon:

Lightly brush dehydrator trays with a teensy tiny bit of oil (to prevent watermelon from sticking when dried) Slice watermelon into 1/4"ish slices, remove the rind, then cut into strips or chunks. I normally cut them into 1" x 3" strips. Place them on the dehydrator trays. Turn dehydrator to degrees 135 and dry for about 16-20 hours. Every couple of hours, rotate your trays, moving the bottom to the top and all the ones in between). Lower temp to 105 and dry for another 1-2 hours or until watermelon is thoroughly dry but still pliable.

You can store this in a ziplock bag in your pantry for a few weeks. It will keep for months if frozen. Just remove and set on the countertop for a couple hours before eating ;)

I REALLY hope you guys get a chance to try this out. It's SO tasty and such a healthy snack for your family. Thanks for reading my internet friends :) 


Tuesday, August 9, 2011

Classic Slaw

Classic Slaw


Summer and salads. They just go together. There is something about summer that brings out the patio BBQ chef in us all. What better dish to accompany that piece of charbroiled meat than a cool zesty crunchy salad filled with flavor? Growing up, I never realized people made their own coleslaw. I just thought you drove to your local KFC and brought home a few bowls and served it. I didn't even notice until a few years back that you could buy a package of chopped cabbage and carrots JUST for the purpose of making your OWN slaw. Ok, I get it, I am a bit of a ditz and I am learning new things all the time. I only share this story with you because now that I just can't GO to a local KFC or other food joint to get my eats....I have to make it myself. I am also finding out I would MUCH rather eat the food I prepare than some premade in a warehouse sort of food. I can control what I put in and how it tastes.

Much to my surprise....I actually LIKE my coleslaw....AND the family does too. Nothing more gratifying as a wife when your husband says "now THAT is how coleslaw should taste".

That being said, save yourself a trip to KFC for some slaw and whip this up for yourself.


(doesn't that just look tasty???)

Classic Slaw

1 bag coleslaw blend (amazing they sell this at a store LOL!!)

Dressing
1/3 cup mayonnaise
2 tablespoons minced onion
1 tablespoon white wine vinegar
1 baby dill finely minced
1 tablespoon dill pickle brine
1/2-1 tablespoons sugar (depends on how sweet you like your slaw)
1/4 teaspoon salt
1/4 teaspoon celery seeds

Blend together salad ingredients then pour over slaw mix. Toss well until dressing is evenly distributed. Chill for at least 30 minutes before serving.


Wednesday, August 3, 2011

Cream of Broccoli Soup


Cream of Broccoli Soup


There are some nights you just want an easy filling dinner. There are some nights you look in your refrigerator for any sort of inspiration as to what to whip up for your family? Well....this was one of those nights. Lately, between working hard installing our signs for buisiness and playing hard, my time spent in the kitchen has been limited to say the least. That is the problem with being celiac....it's not like we can buzz over to KFC and grab a chicken bucket with sides. Not that it's the best thing for our bodies, but it certainly DOES taste good and it's quick and easy. As for quick and easy, this soup recipe definitely fits the bill....but lets add one more adjective in the mix. Delish. Which this soup most definitely is.....delish.

Top it with shredded cheddah. Sprinkle on some bacon bits. Dollop with sour cream.

Delish!


Gluten Free Cream of Broccoli Soup

2 tablespoons butter or olive oil
1 cup diced onions
3 cups chicken broth
1-2 diced celery stalks
8 cups chopped broccoli
3 tablespoons butter
3 tablespoons sweet rice flour
2 cups milk
salt and pepper to taste

Heat olive oil or butter in a large pot on medium heat and add onion and celery. Saute until celery is tender and onion is transluescent. Add the broccoli and broth, cover, and simmer for 10-15 minutes. Meanwhile, in a small saucepan, warm up the butter and whisk in the sweet rice flour. Sprinkle in salt and pepper then slowly stir in the milk whisking constantly until white sauce begins to thicken. Once sauce is thick, remove from heat and set aside. When broccoli is tender, carefully transfer into a blender (you may have to do a couple sets) and lightly blend until soup reaches desired consistency. Pour back into the large pot and slowly stir in white sauce. Simmer an additional 10 minutes on medium/low heat.